
Directory Structure
The directory in which you choose to install the nexus controller will have sister directories for other files. Because of this, we recommend you create two directories: a directory that will contain every thing related to nexus controller, for example named “Nexus Controller”, and contained within that, a directory to contain the nexus controller, for example named “bin”. These directory names are just examples, and you can name your directories as you please.

Unzip the nexus controller into the lower directory, named “bin” in the example above.
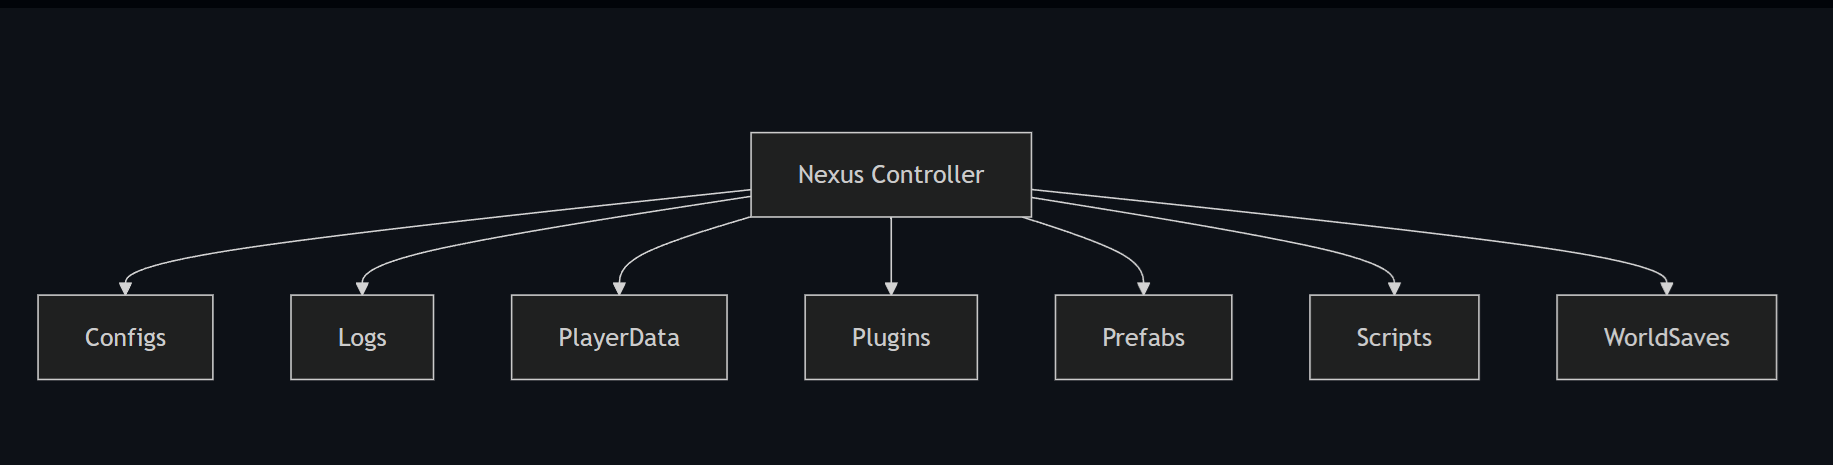
When you start the nexus controller for the first time, the sister directories will be created, including: Configs, Logs, PlayerData, Plugins, Prefabs, Scripts, and WorldSaves.
First Time Setup
 Warning
Only run and activate the controller on the target machine you plan to run the controller on! Activation will bind the machine & IP to your license key. Resetting your activation request will require you to open a ticket in the nexus discord.
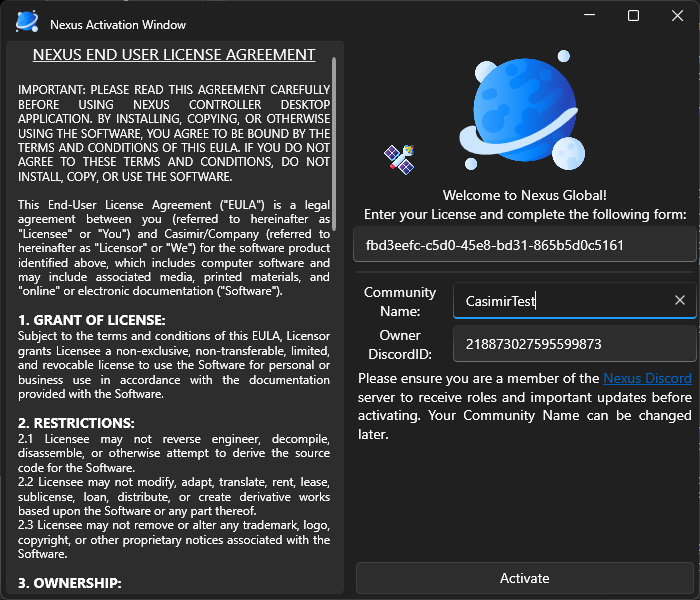
You will get a popup notification for any errors or successful activation and then will be prompted with the nexus dashboard.
Controller Settings

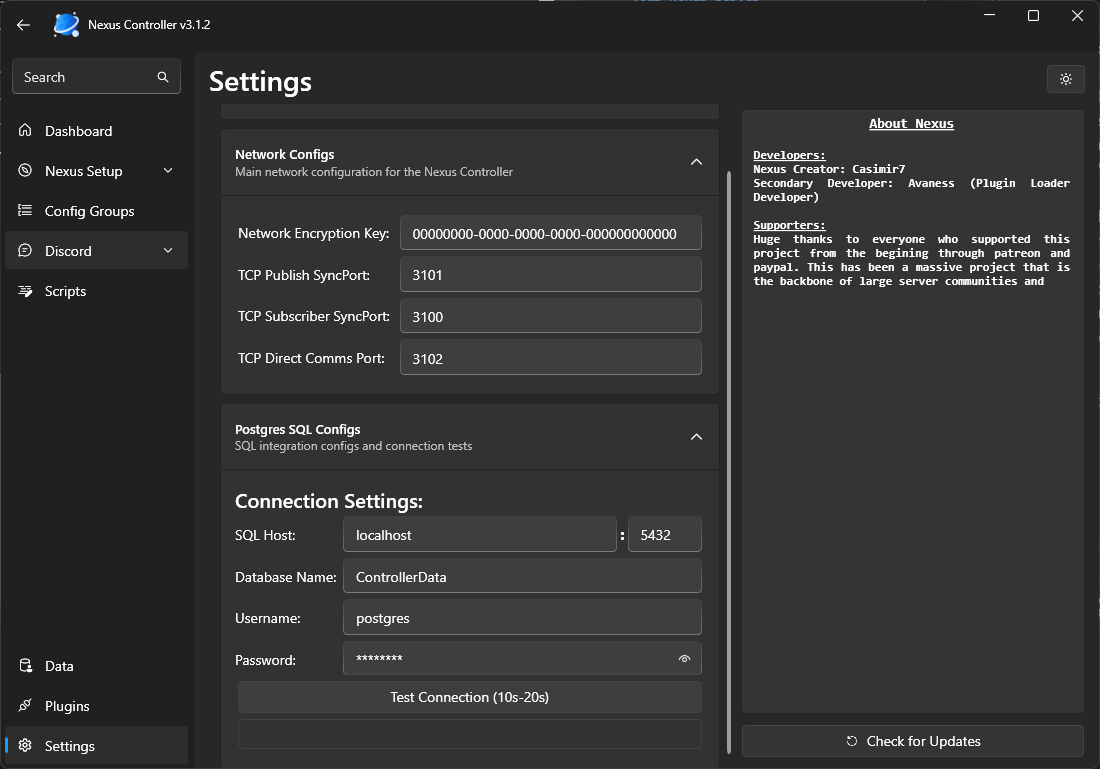
You can now navigate to the settings tab to start the back end setup for the controller networking and SQL.
 Note
Note
Changing any Network Settings will require a Controller Restart
Network Configs
Nexus utilizes a publisher and subscriber (PubSub) diagram to push and pull data through a network proxy running in the controller. It uses two ports:
| Port | Default | Description |
|---|---|---|
| Subscriber Port | 3100 |
Used by the controller to receive messages from servers |
| Publisher Port | 3101 |
Used by the controller to send messages to servers |
These can be any ports but leaving them default is fine. You should only need to change these if you plan to run two controllers on one box. If you plan to run all of your torch servers on the same network (behind your router/firewall) you do not need to open these ports.
If your servers are on other networks, you will be required to open these ports to be accessible by other machines.
The Network Encryption Key is auto-generated and used to authenticate network traffic between the controller and servers. You generally do not need to change this.
Warning
OPENING YOUR PORTS IS DANGEROUS. Please only open if you know what you are doing and place certain protections in place. Example: You can whitelist these ports to only accept network traffic from certain IPs.
Please read up on any firewall/network security before proceeding with this setup. We are not liable for any hacking or issues from leaving your ports wide open for the entire internet.
SQL Configs
From your SQL setup, you can enter in the hostname for the database and the specified port. (Leave alone for default). You can then use the test connection button to see if the controller is properly communicating with the SQL database.
| Setting | Default | Description |
|---|---|---|
| SQL Host | localhost |
Hostname or IP of your PostgreSQL server |
| SQL Port | 5432 |
PostgreSQL port (default is 5432) |
| SQL Database | ControllerData |
Name of the database to use |
| SQL Username | postgres |
Database username |
| SQL Password | defaultpass |
Database password |
 Important
Change the default SQL password before going live. Using the default credentials is a security risk.
Backup Settings
The controller periodically saves backup copies of your world data.
| Setting | Default | Description |
|---|---|---|
| Max Sandbox Backups | 25 |
Maximum number of backup saves to keep before the oldest is deleted |
| Backup Save Time Interval (min) | 30 |
How often (in minutes) the controller saves a backup |
Other Settings
| Setting | Default | Description |
|---|---|---|
| Community Name | (empty) | Your community/server network name. Used in Discord linking. |
| Debug Mode | true |
Enables verbose controller logging. Disable once setup is complete. |